
12 Genius Uses for Leftover Sample Paint Pots
Sample paint pots are typically used to test out a color before you apply it to the entire wall, furniture piece, or another surface. They offer a handy way to see your color choice in person and in the context of your room before you commit to the full paint job. Once you've decided on a winning paint color, however, don't throw away those leftover sample pots. Besides allowing you to test-drive a color, sample pots of paint are also great for quick furniture updates, DIY wall art, and other small decorating projects that don't require a lot of paint. By repurposing the paint in creative ways, you can cut down on waste while taking advantage of budget-friendly materials.
Typical sample pot sizes range from about 8 to 32 ounces, and most cost about $10 or less. Before you begin a paint project with sample pots, measure the surface area you plan to cover and make sure you have enough paint to complete the job, factoring in whether you'll need multiple coats. When you're ready to start painting, consider one of these clever uses for sample paint pots to turn leftover materials into show-stopping decor.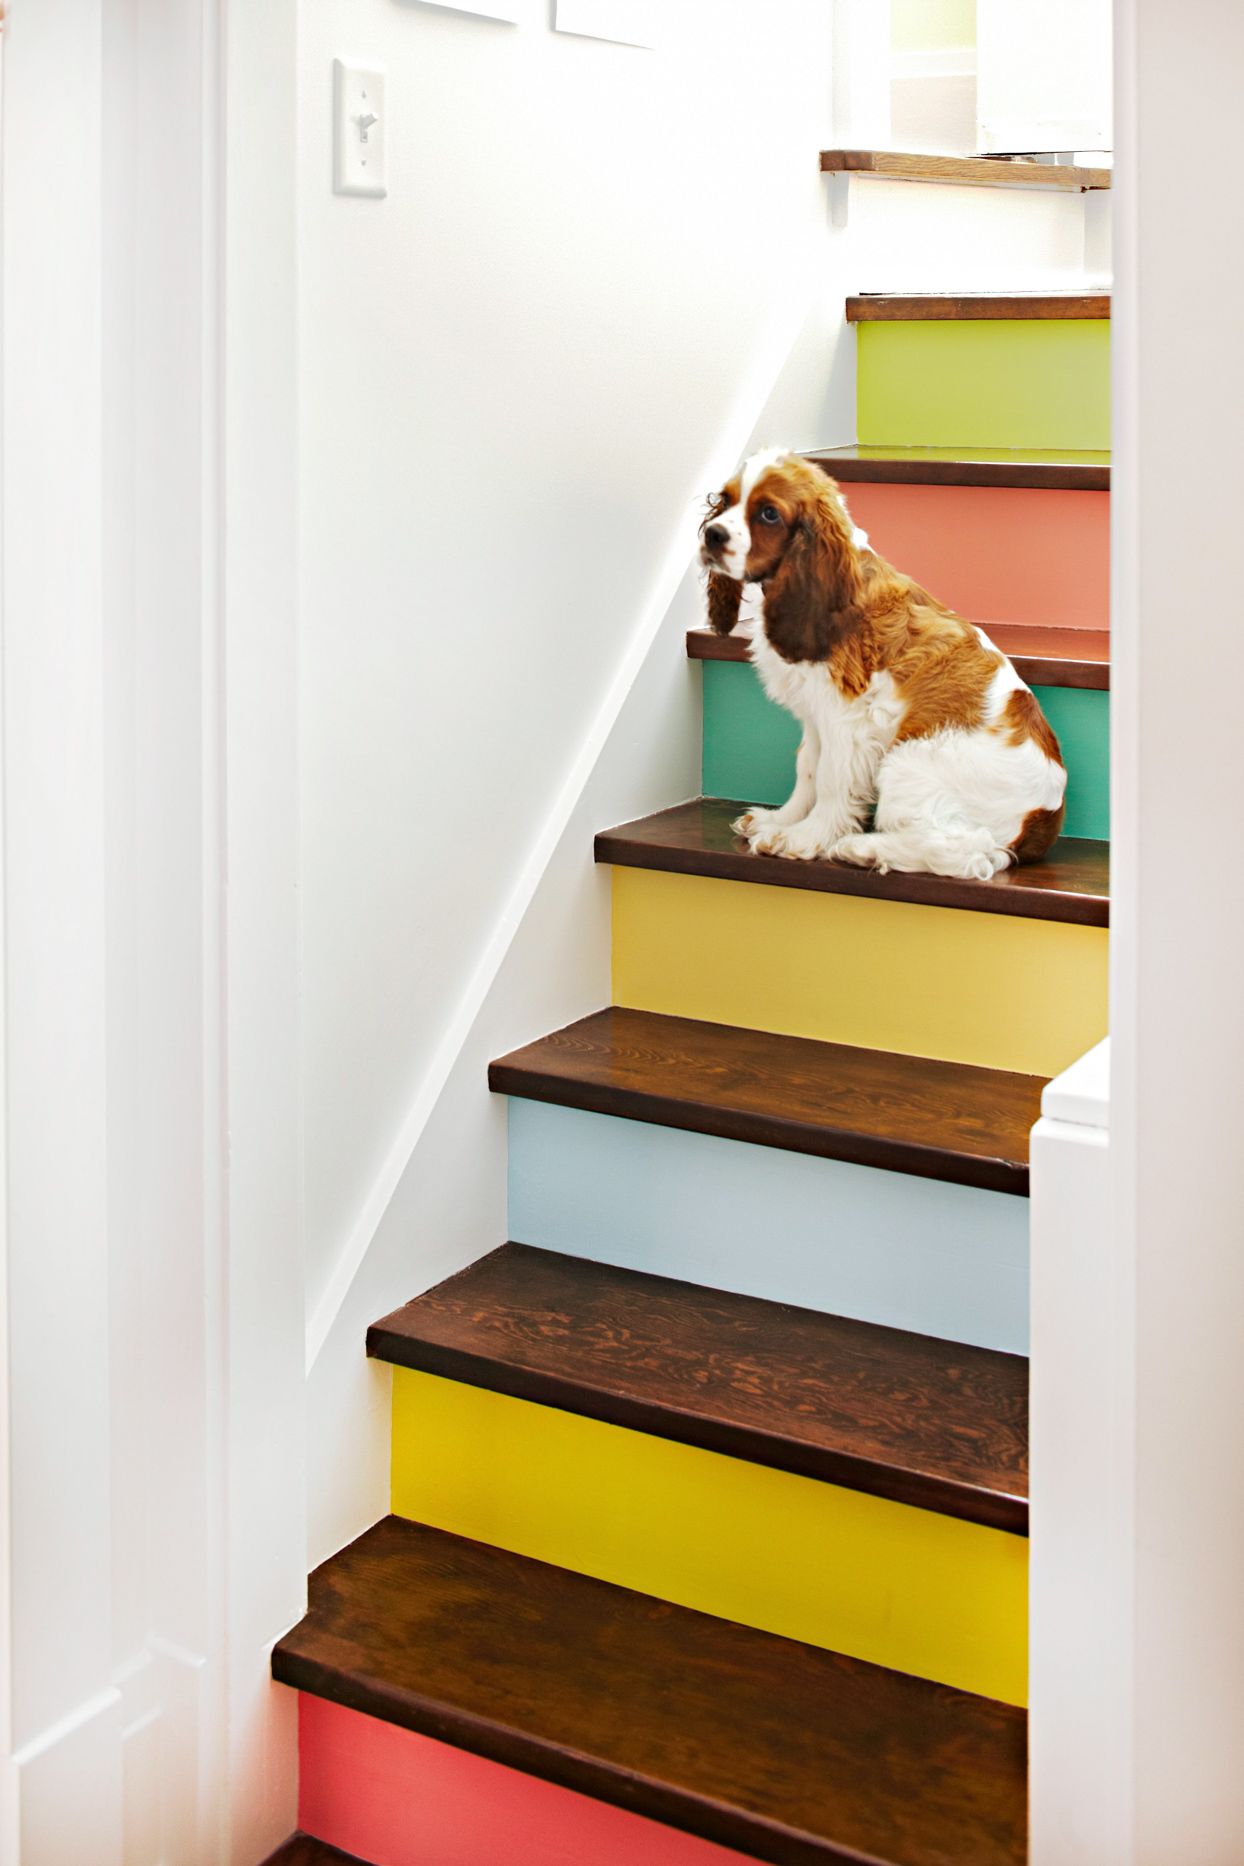
1. Paint Stair Risers
Gather sample pots in a variety of hues to give your staircase a rainbow makeover. Tape off the tread and nosing of each step, as well as the surrounding wall, so the color covers just the stair risers. Before painting, sand and wipe down the surface to ensure good adhesion. Use a small roller or a 2-inch brush for precision, and remove the tape while the paint is still wet.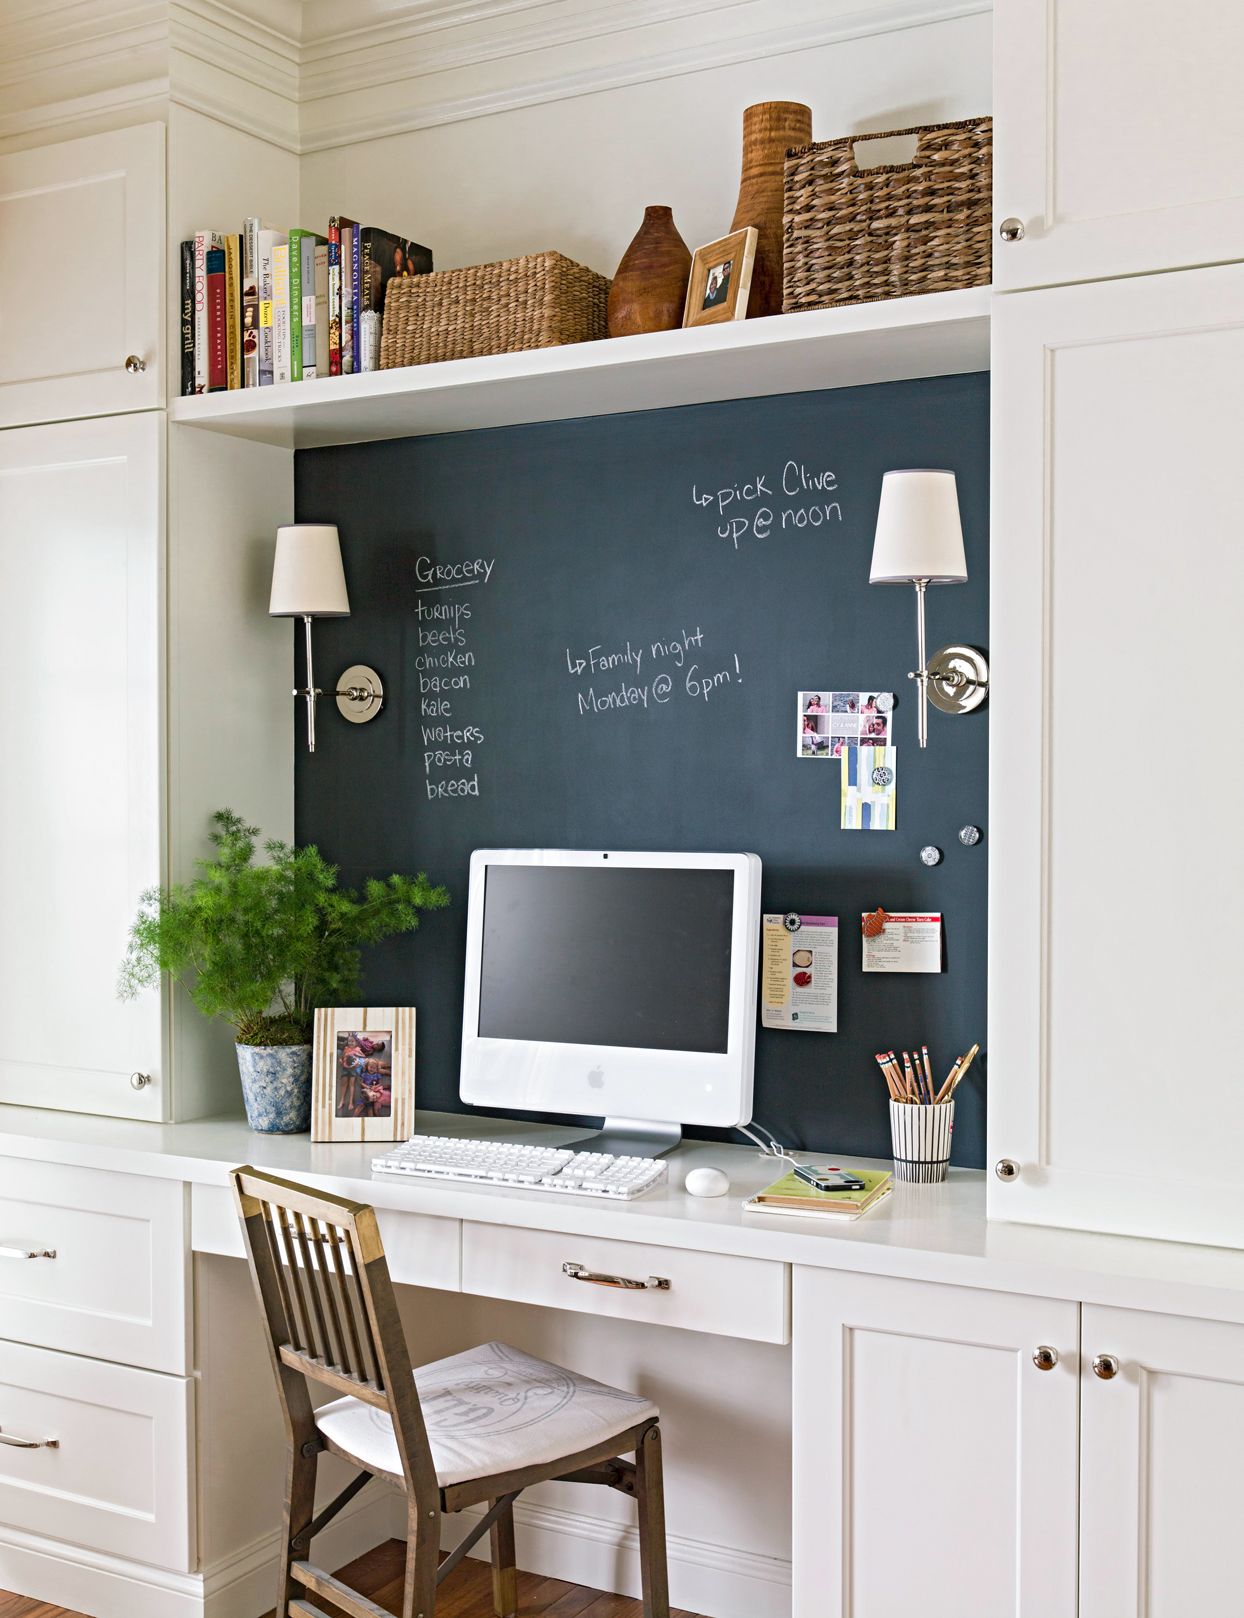
2. Make a DIY Chalkboard
Transform basic sample pots into chalk-finish paint to create a DIY message board on any wall. Simply mix unsanded tile grout into latex paint and stir to combine. Tape off your desired wall space and apply the chalk-style paint with a roller or brush, allowing the paint to dry and sanding between coats. This leftover paint idea works well in a home office or entryway. Keep chalk nearby for jotting down to-do lists and reminders.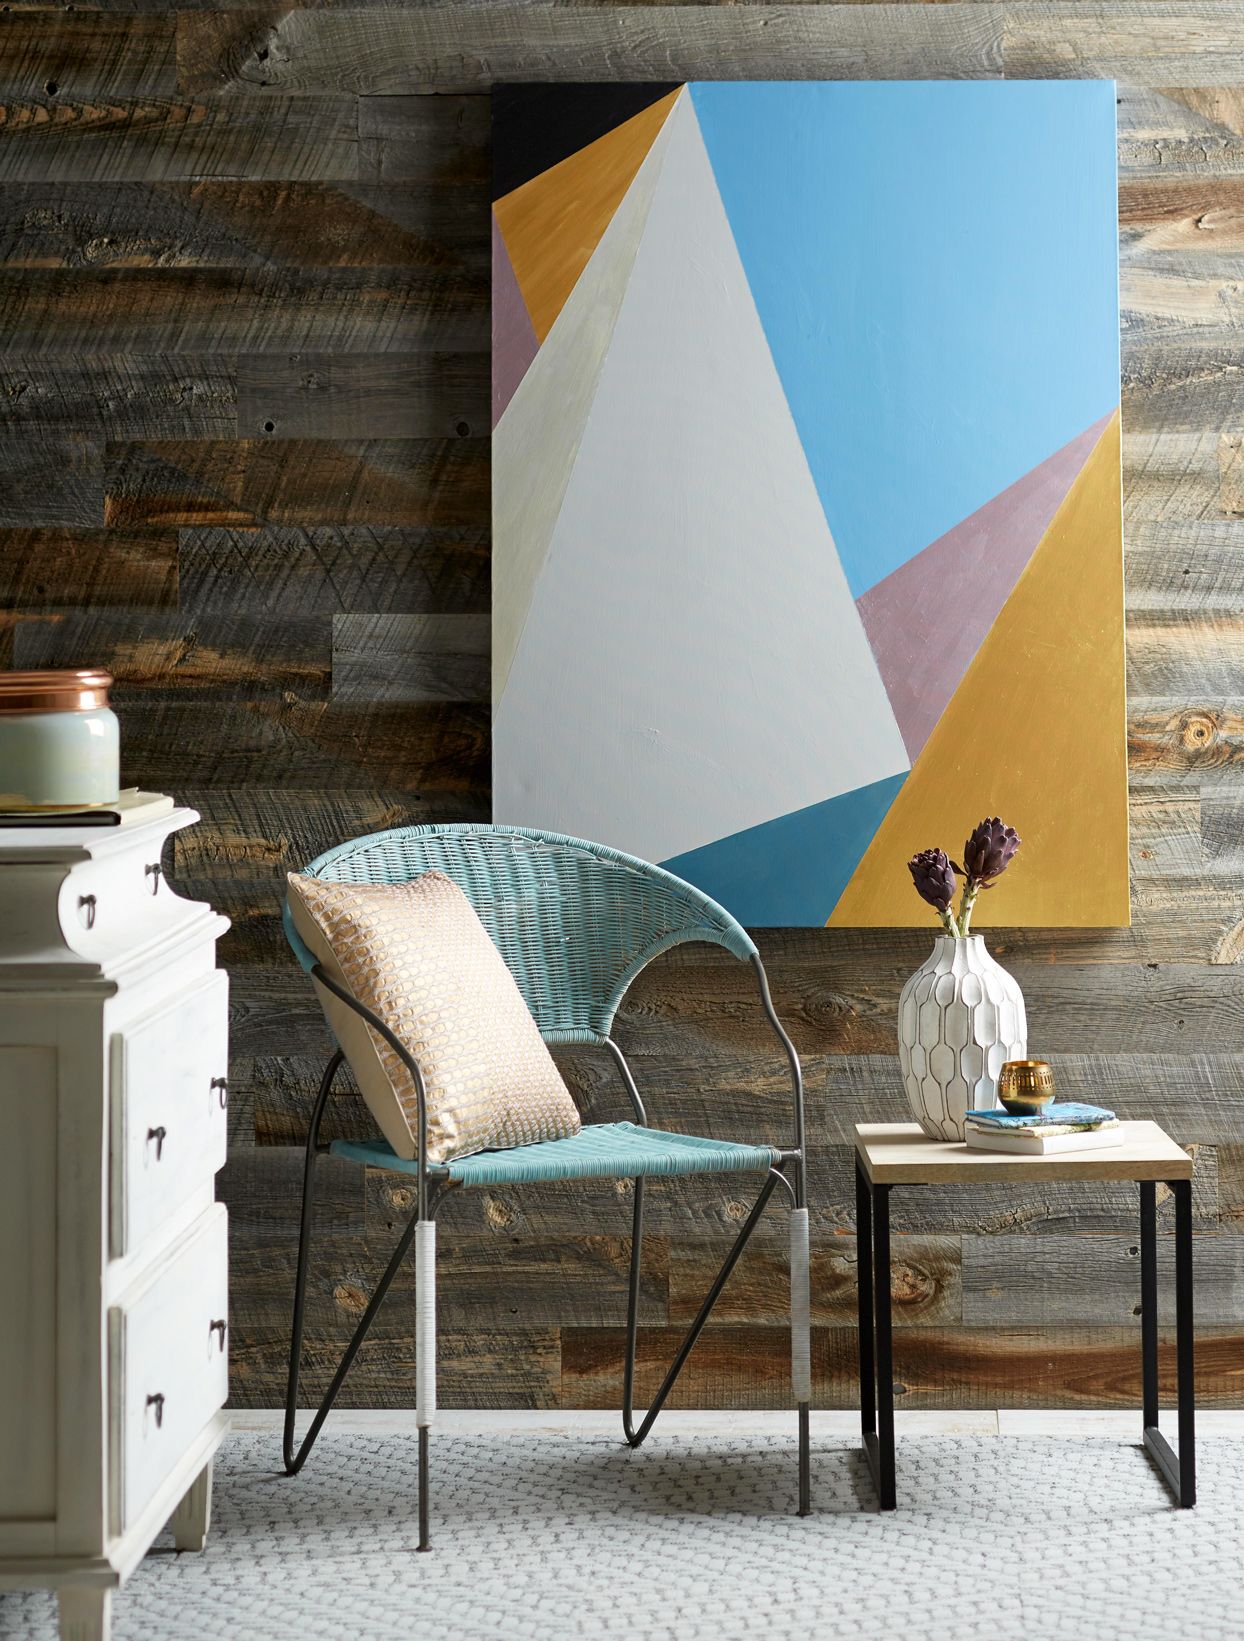
3. Create Geometric Artwork
Grab some painters tape and a plain canvas to create modern art with sample paint pots. A spare sheet of plywood or a wood canvas works as a surface, too. Start by applying lines of tape at various angles across the canvas to form geometric shapes. Wrap the tape around the sides to ensure clean lines. Working one section at a time, fill in the shapes with complementary colors of paint. Apply a second coat if needed and remove the tape as the paint dries.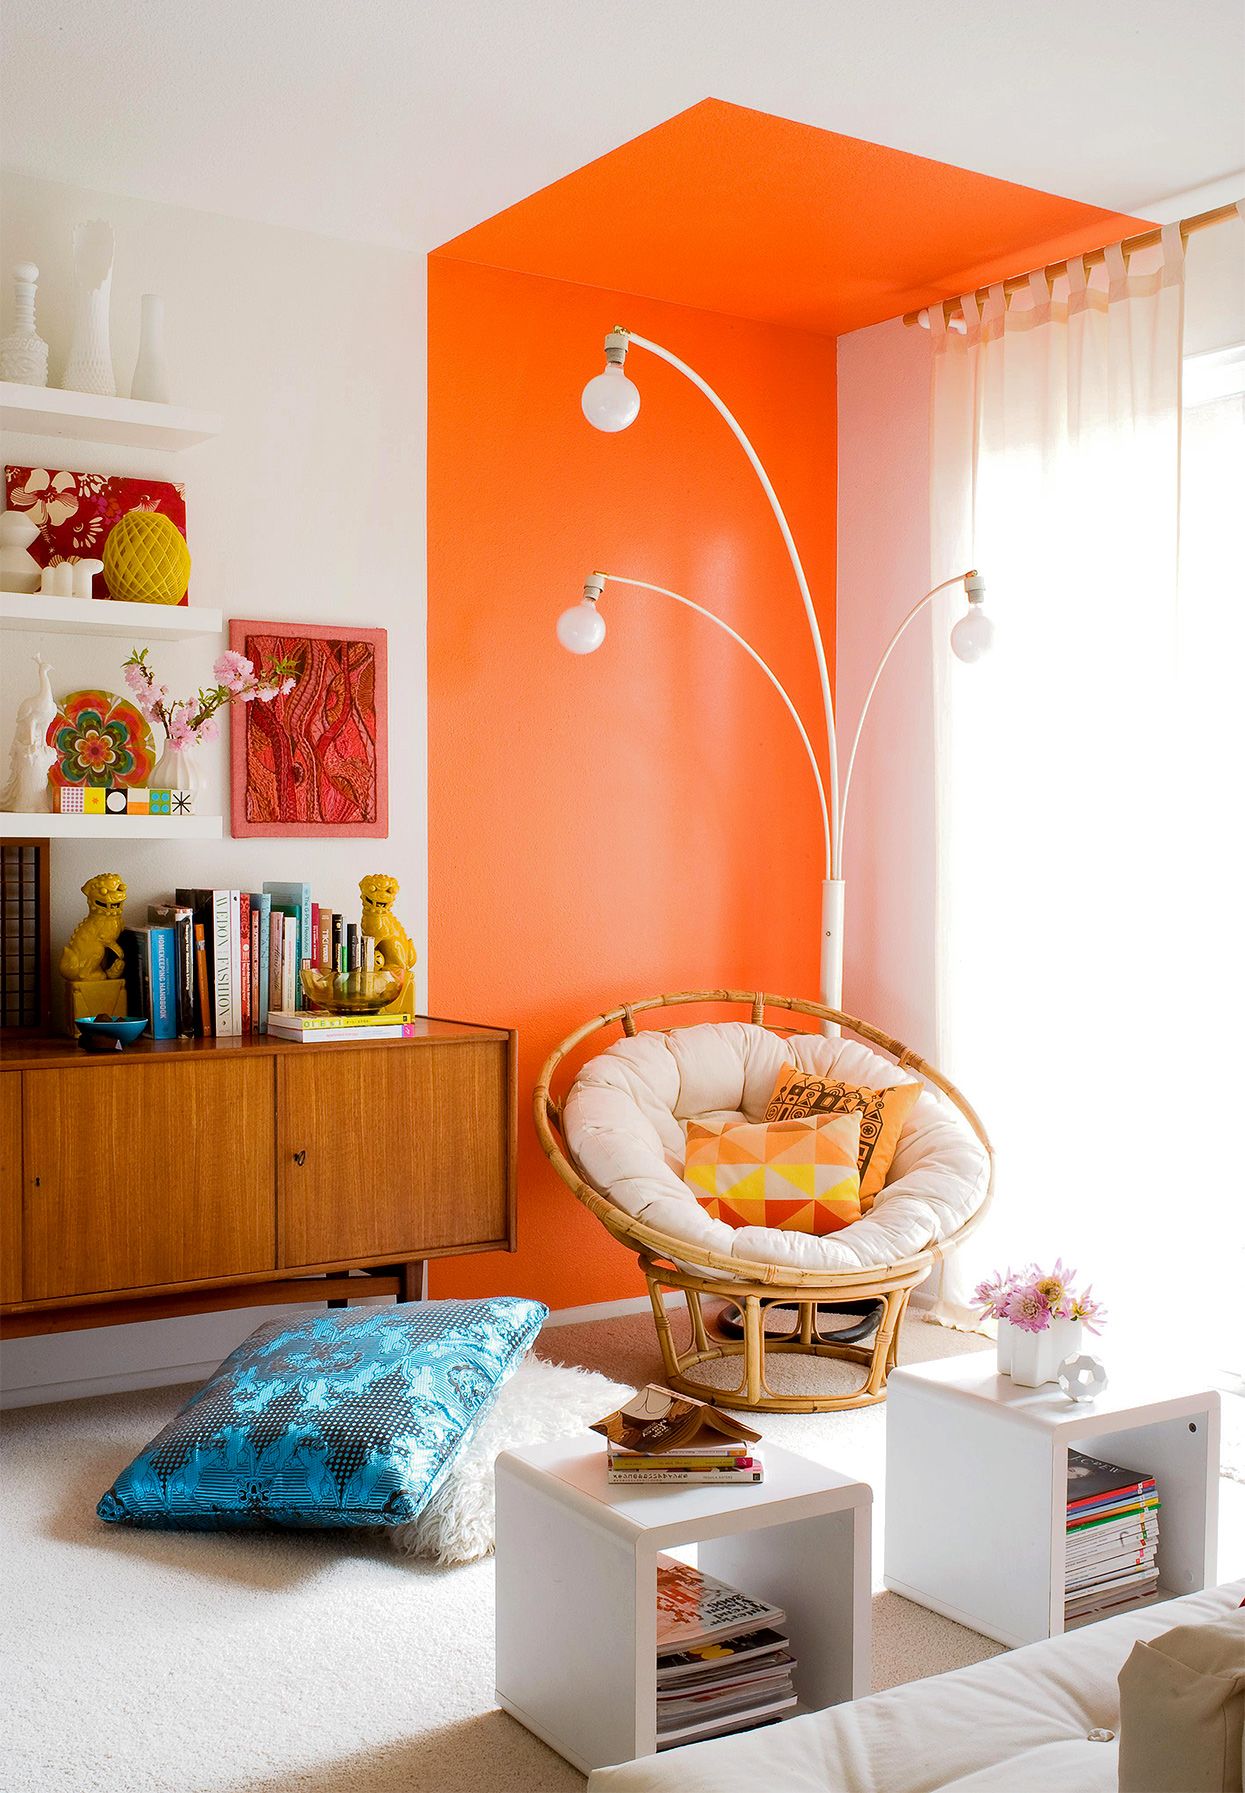
4. Highlight a Section of Wall
Sample paint pots likely won't cover an entire wall, but you can use them to highlight a certain area of the room with a two-toned look. This color-blocking technique works especially well in an empty corner or directly above a piece of furniture. Use a contrasting shade that will stand out vividly against the base wall color for a striking effect. To ensure straight lines, use painters tape and a level to mark off the area you plan to paint. Be sure to calculate how much paint you'll need to cover the entire section before you begin painting.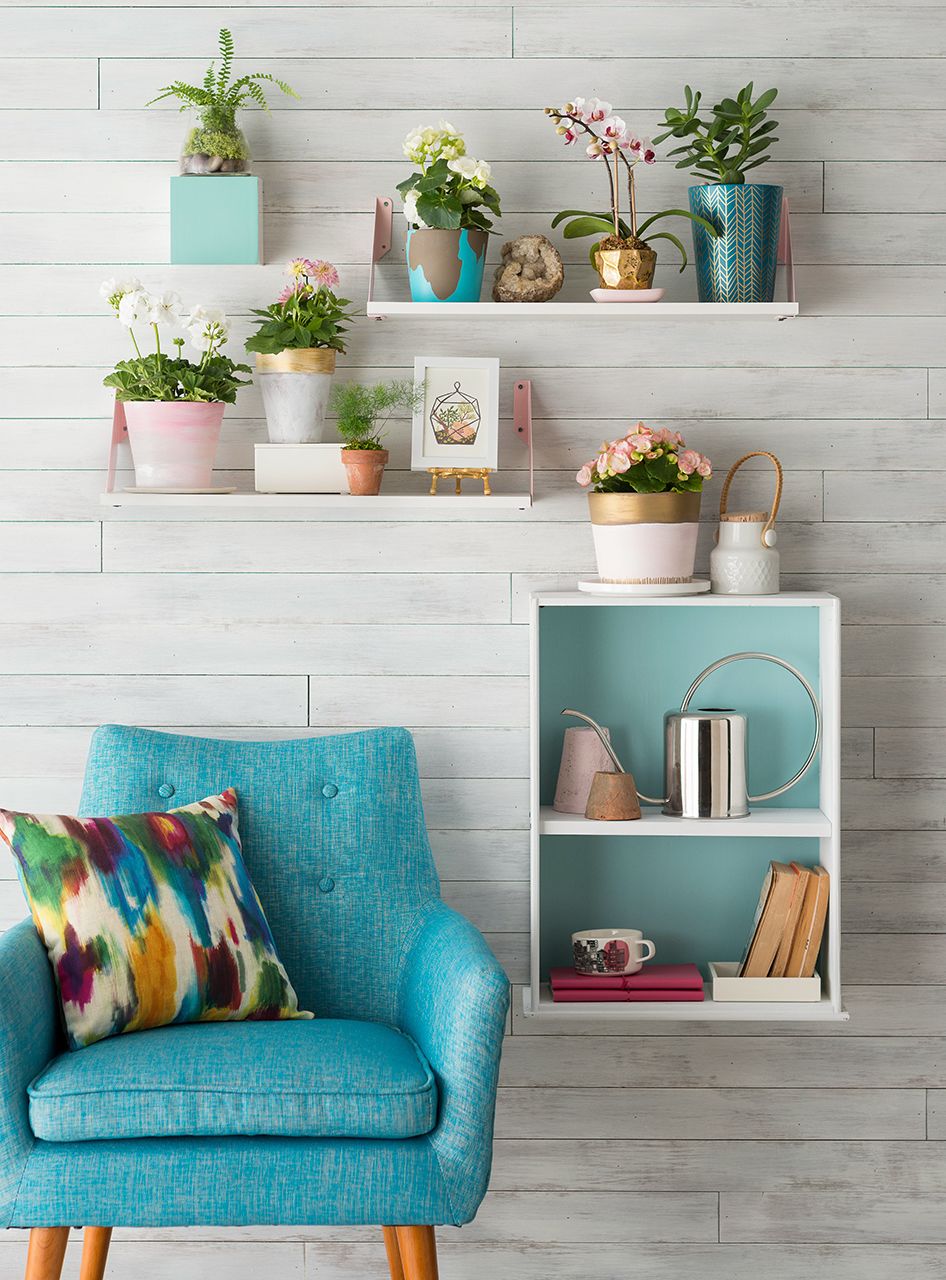
5. Decorate Plant Pots
This quick DIY project is a great way to use up leftover paint samples. Dip your brush into a sample pot and paint over inexpensive terra-cotta plant pots. Cover the entire planter in a solid color, or get creative with patterns of stripes, swirls, dots, and other designs. Use a variety of coordinating hues for a colorful update to your houseplant collection.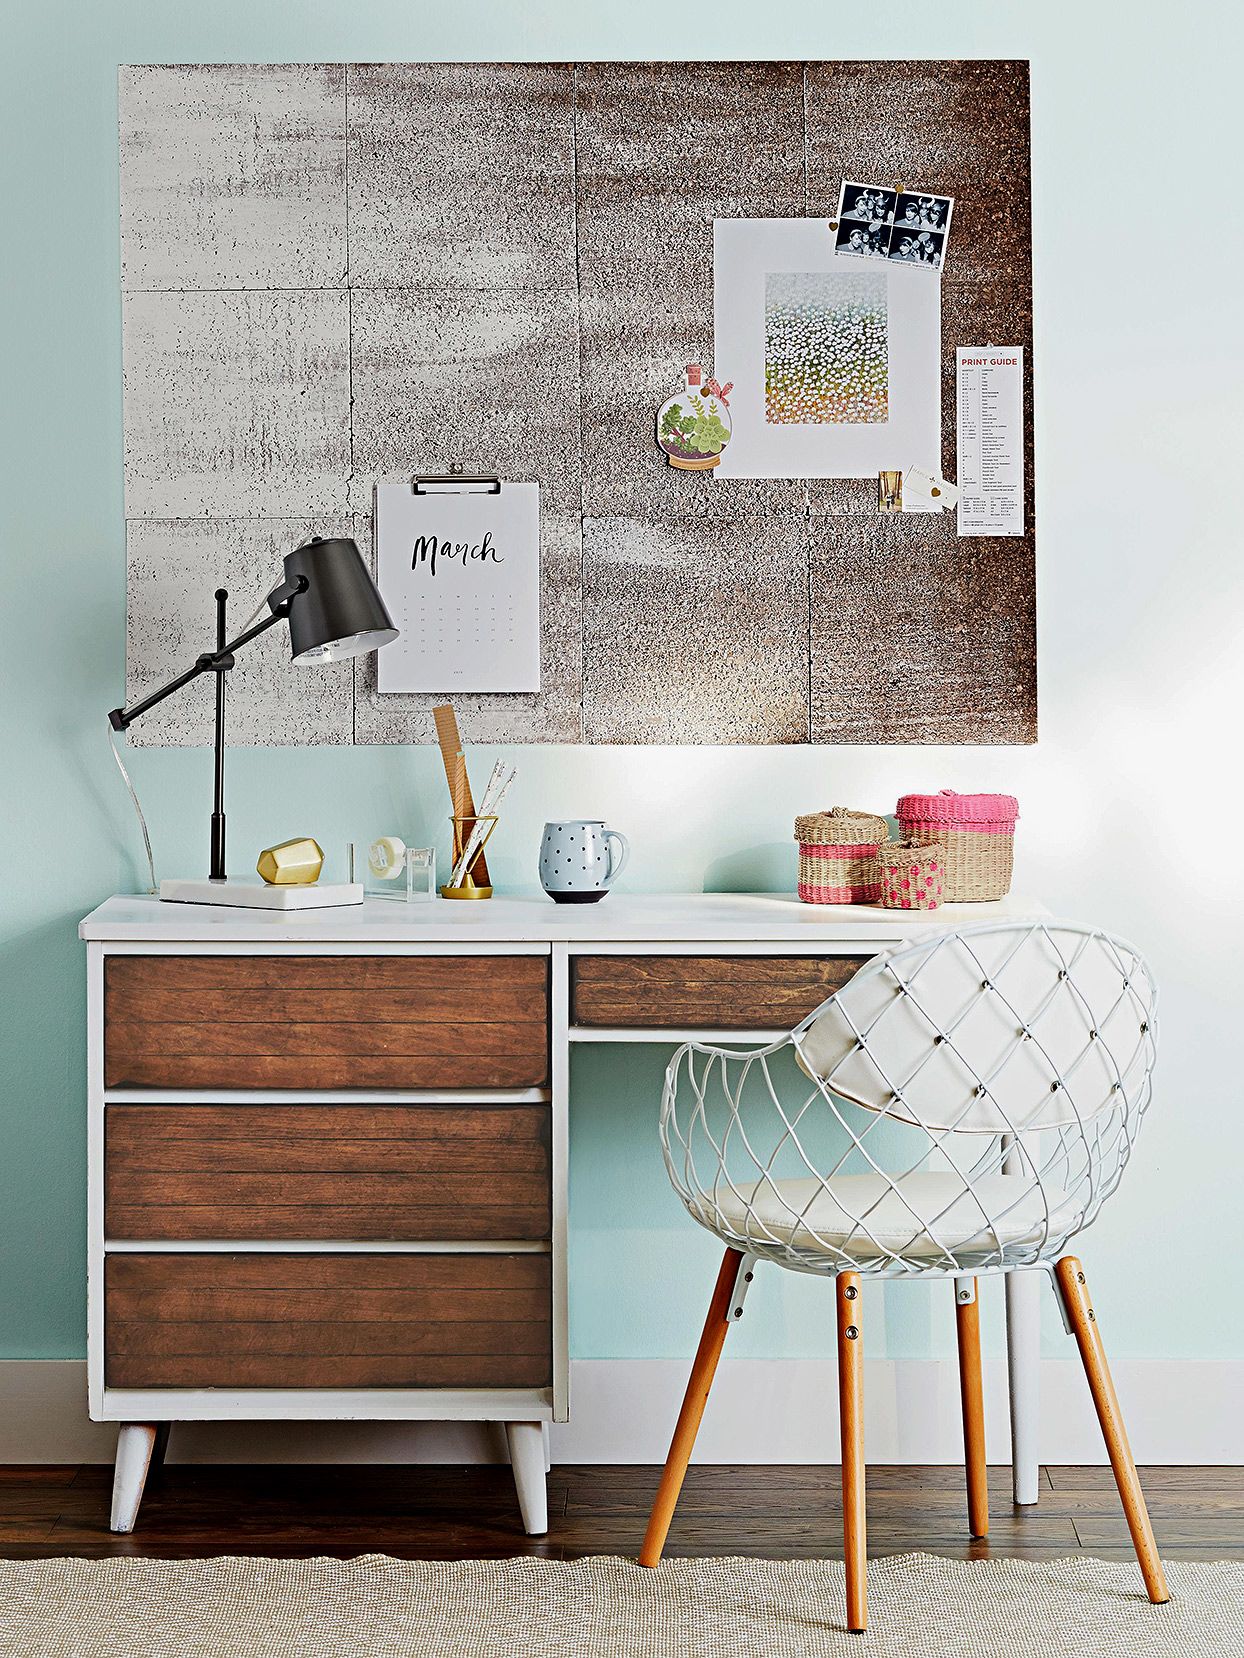
6. Create a Message Board
Make this grayscale ombre message board with corkboard and paint. Cluster 12 corkboard panels above your workspace, then lay out all the panels, sides touching, on a protected surface in the arrangement you plan to hang. Use a dry-brush technique to paint across the panels. Put a small amount of paint on a brush, and apply in long strokes from left to right to create a gradually diminishing effect. Continue dragging paint until you achieve the desired look.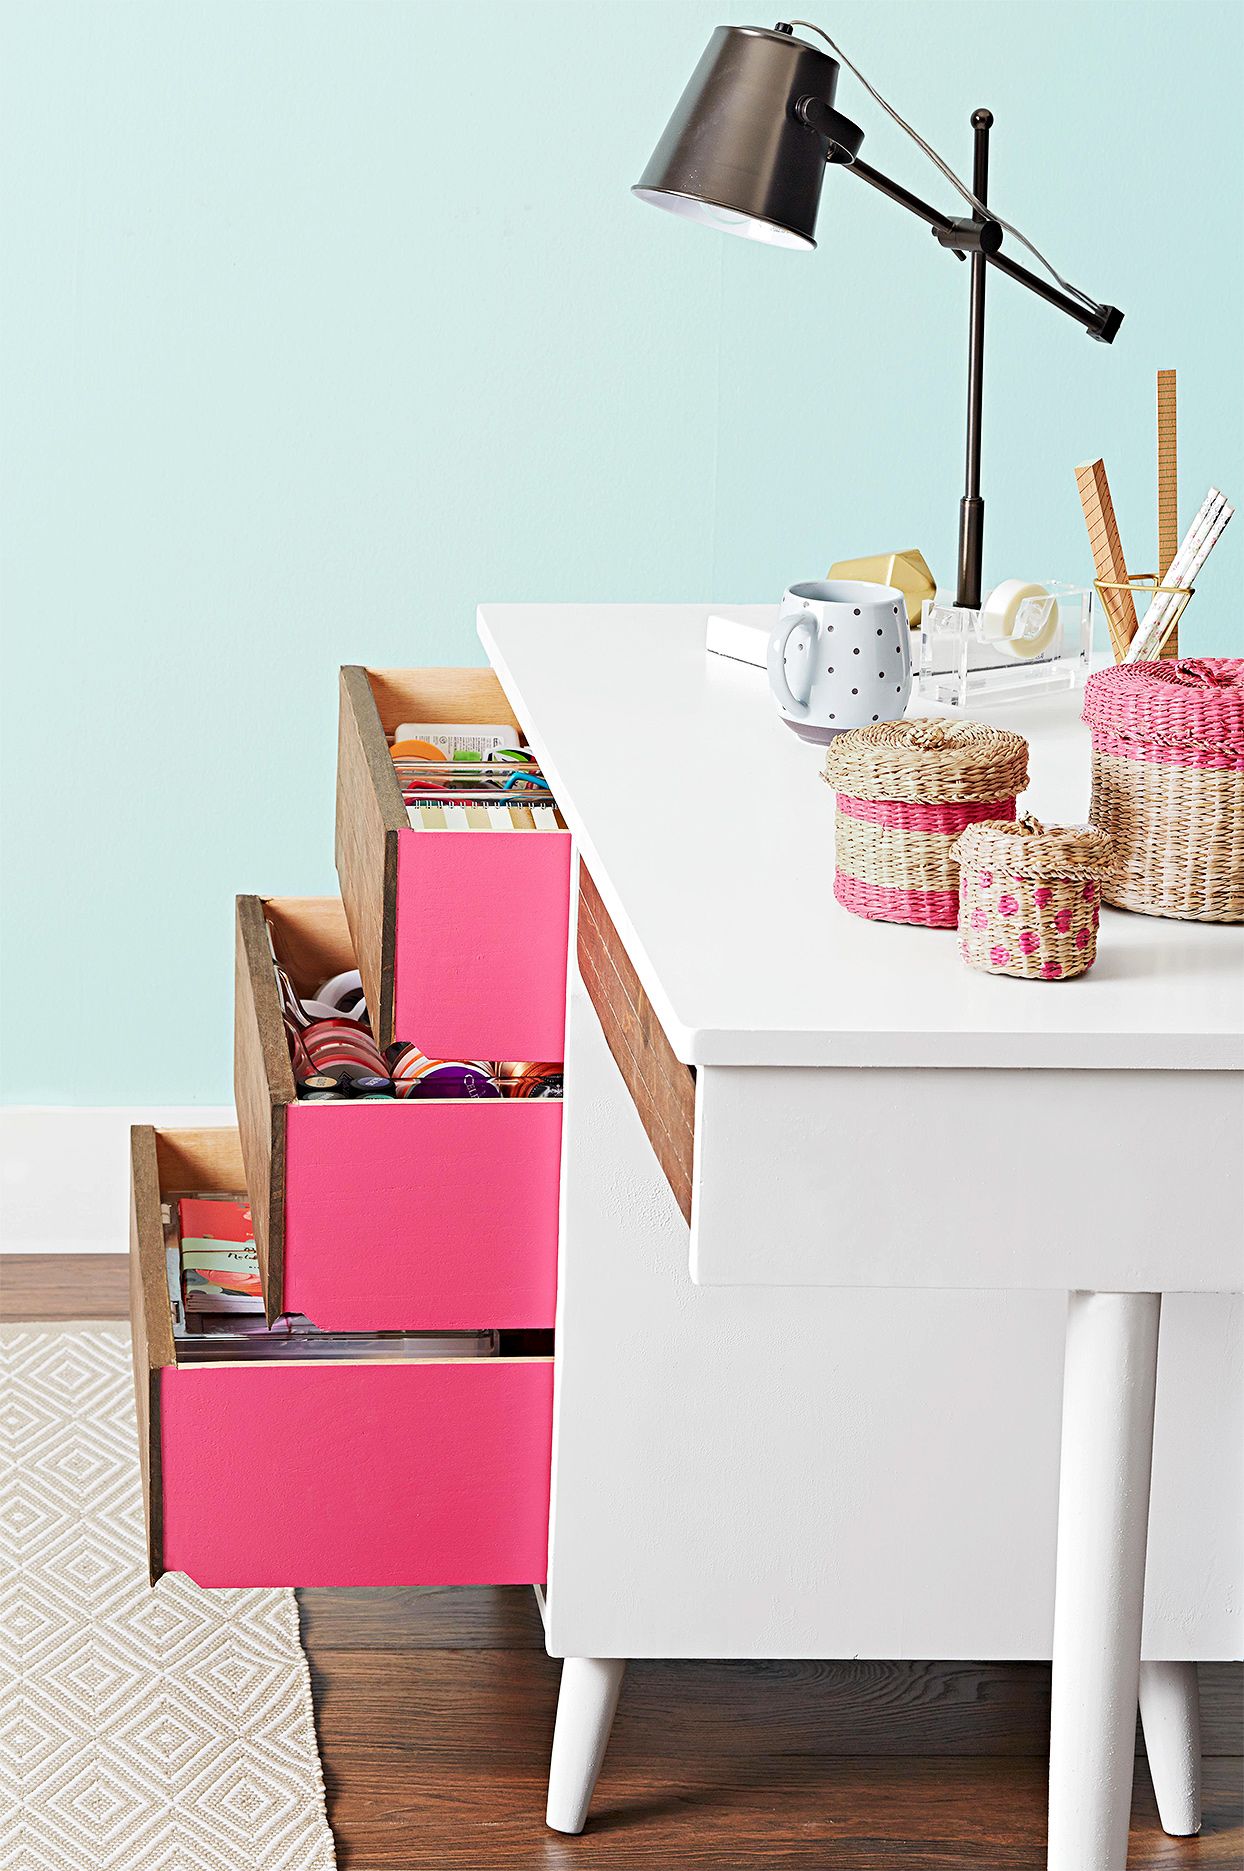
7. Paint Dresser Drawers
Add pops of color to a dresser or desk with one pot of sample paint in a bright shade. Start by emptying and removing all drawers. Sand the drawer sides, and tape off any areas you don't want to paint (like the tops of the drawer sides or the drawer fronts). Prime, let dry, then apply two coats of paint. Apply a coat of clear wax or matte varnish for protection. Allow the paint to cure for a few days before reinstalling the drawers.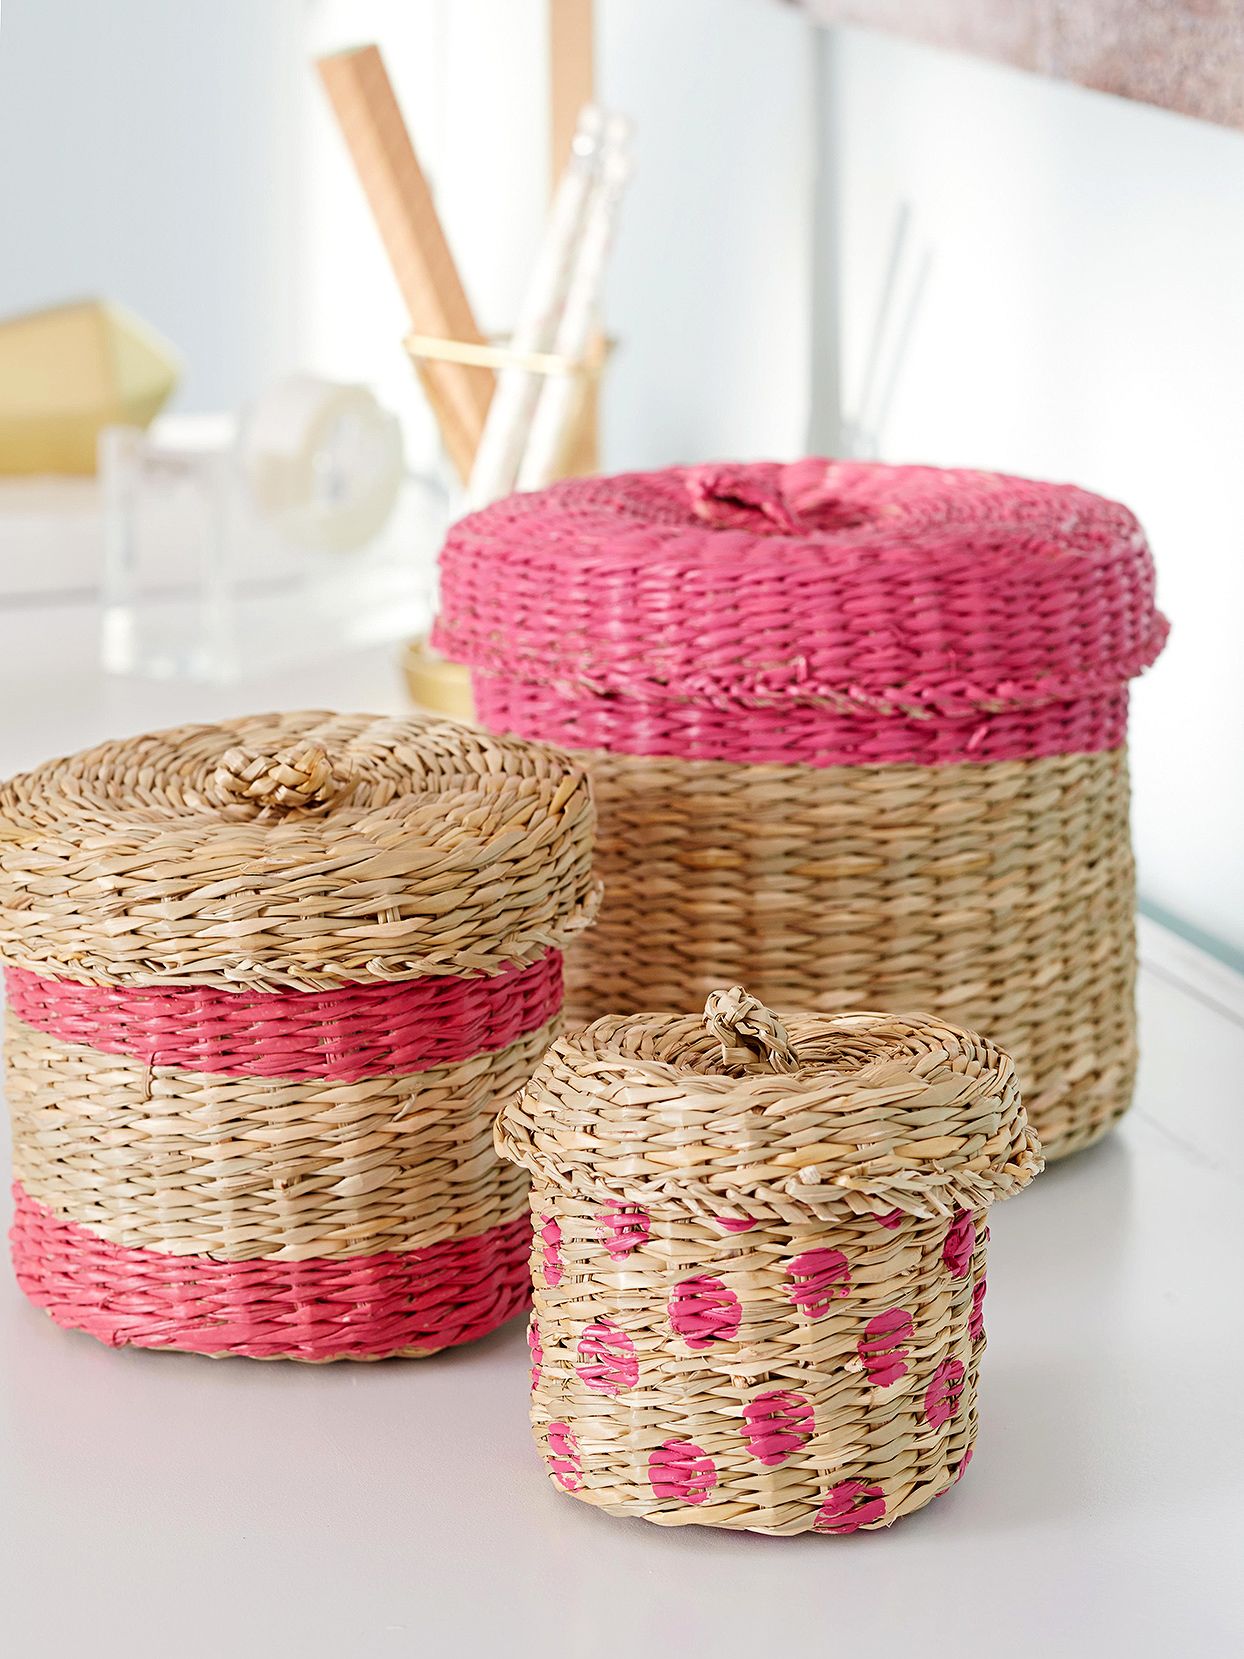
8. Spruce Up Plain Baskets
Use paint to add stripes and polka dots to small wicker baskets or other accessories. This trick works especially well when you have only a trace amount of paint left, ensuring that not a single drop goes to waste. Use the accents to match other paint colors in the room, like on the walls or furniture. Apply paint with a small artists brush, and let dry before filling with trinkets.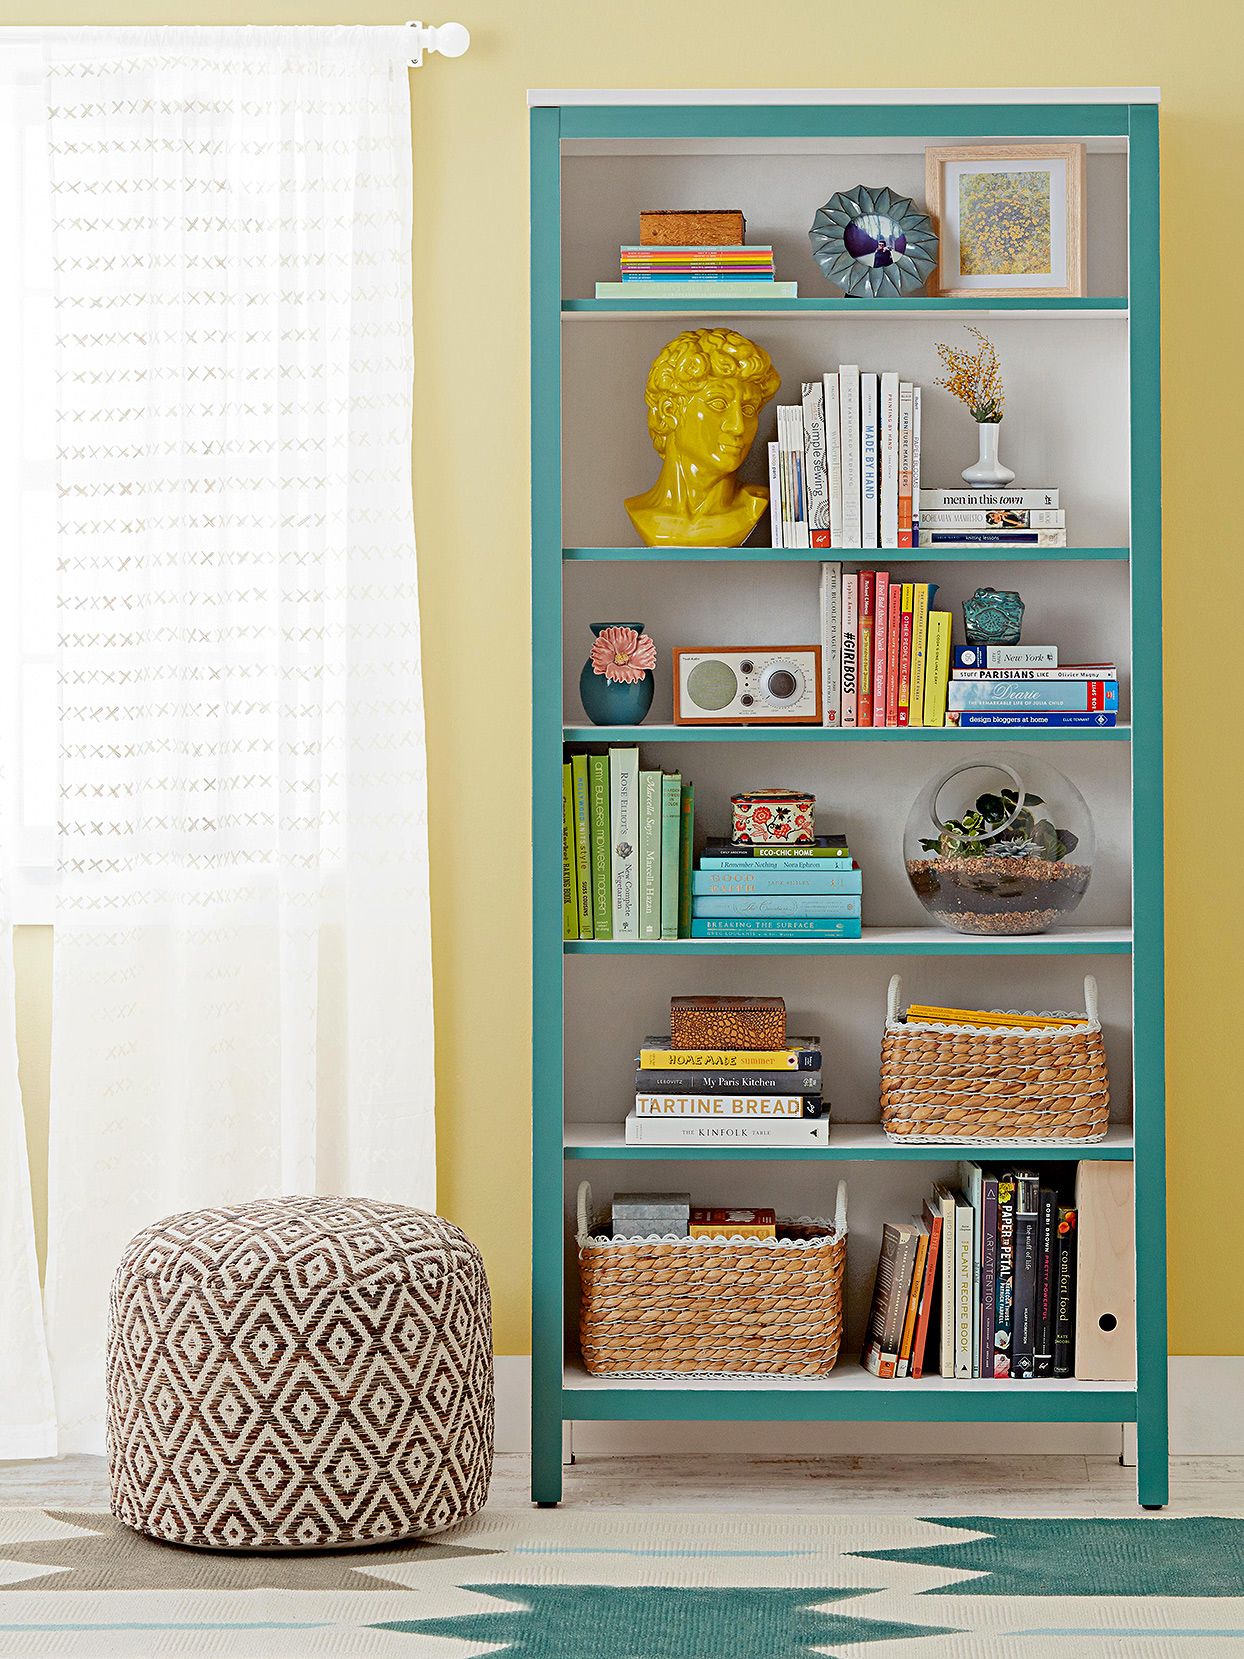
9. Update a Bookshelf
Dress up plain white bookshelves with a quick color makeover. Use a brush or disposable foam roller to prime the face frame of a bookcase and front edge of shelves; let dry. Apply two coats of a single color of sample paint, allowing each coat to dry. Top with a coat of clear wax or matte varnish for extra protection.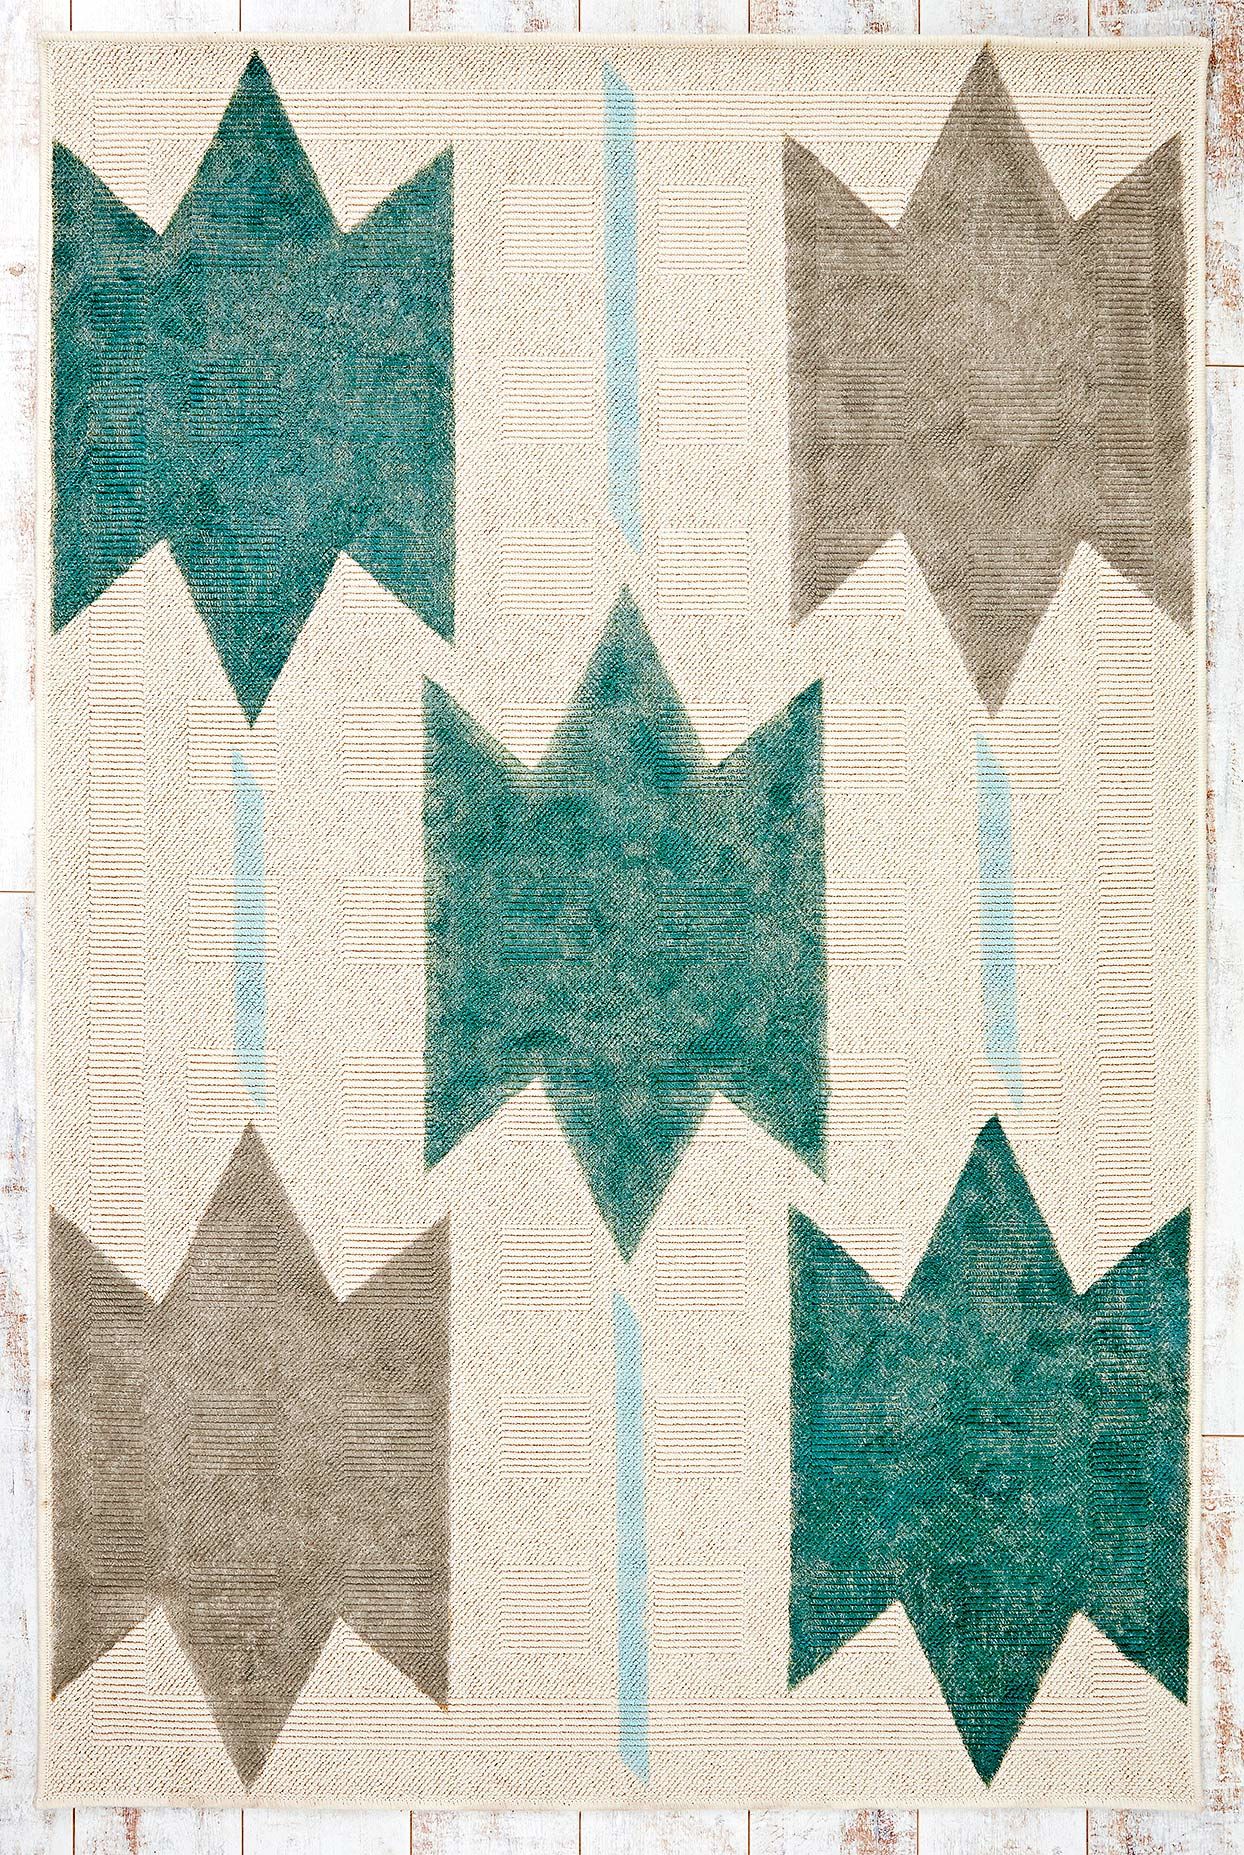
10. Stamp and Stencil a Rug
Add a painted pattern to an ordinary cotton rug. Print our Aztec motif, enlarge to fit your rug, trace onto cardboard, and cut out the pattern with a utility knife to create a stencil. We placed our stencil in the center and each corner of the rug. Use a 2-inch stencil brush to lightly fill in the shape. Dip the brush in paint, wipe off excess paint on scrap cardboard, and dab it on the rug. To create the lines between the stenciled shapes, use painters tape to create 2-inch-wide strips with angled ends. After painting, remove the tape and let dry for several days before using.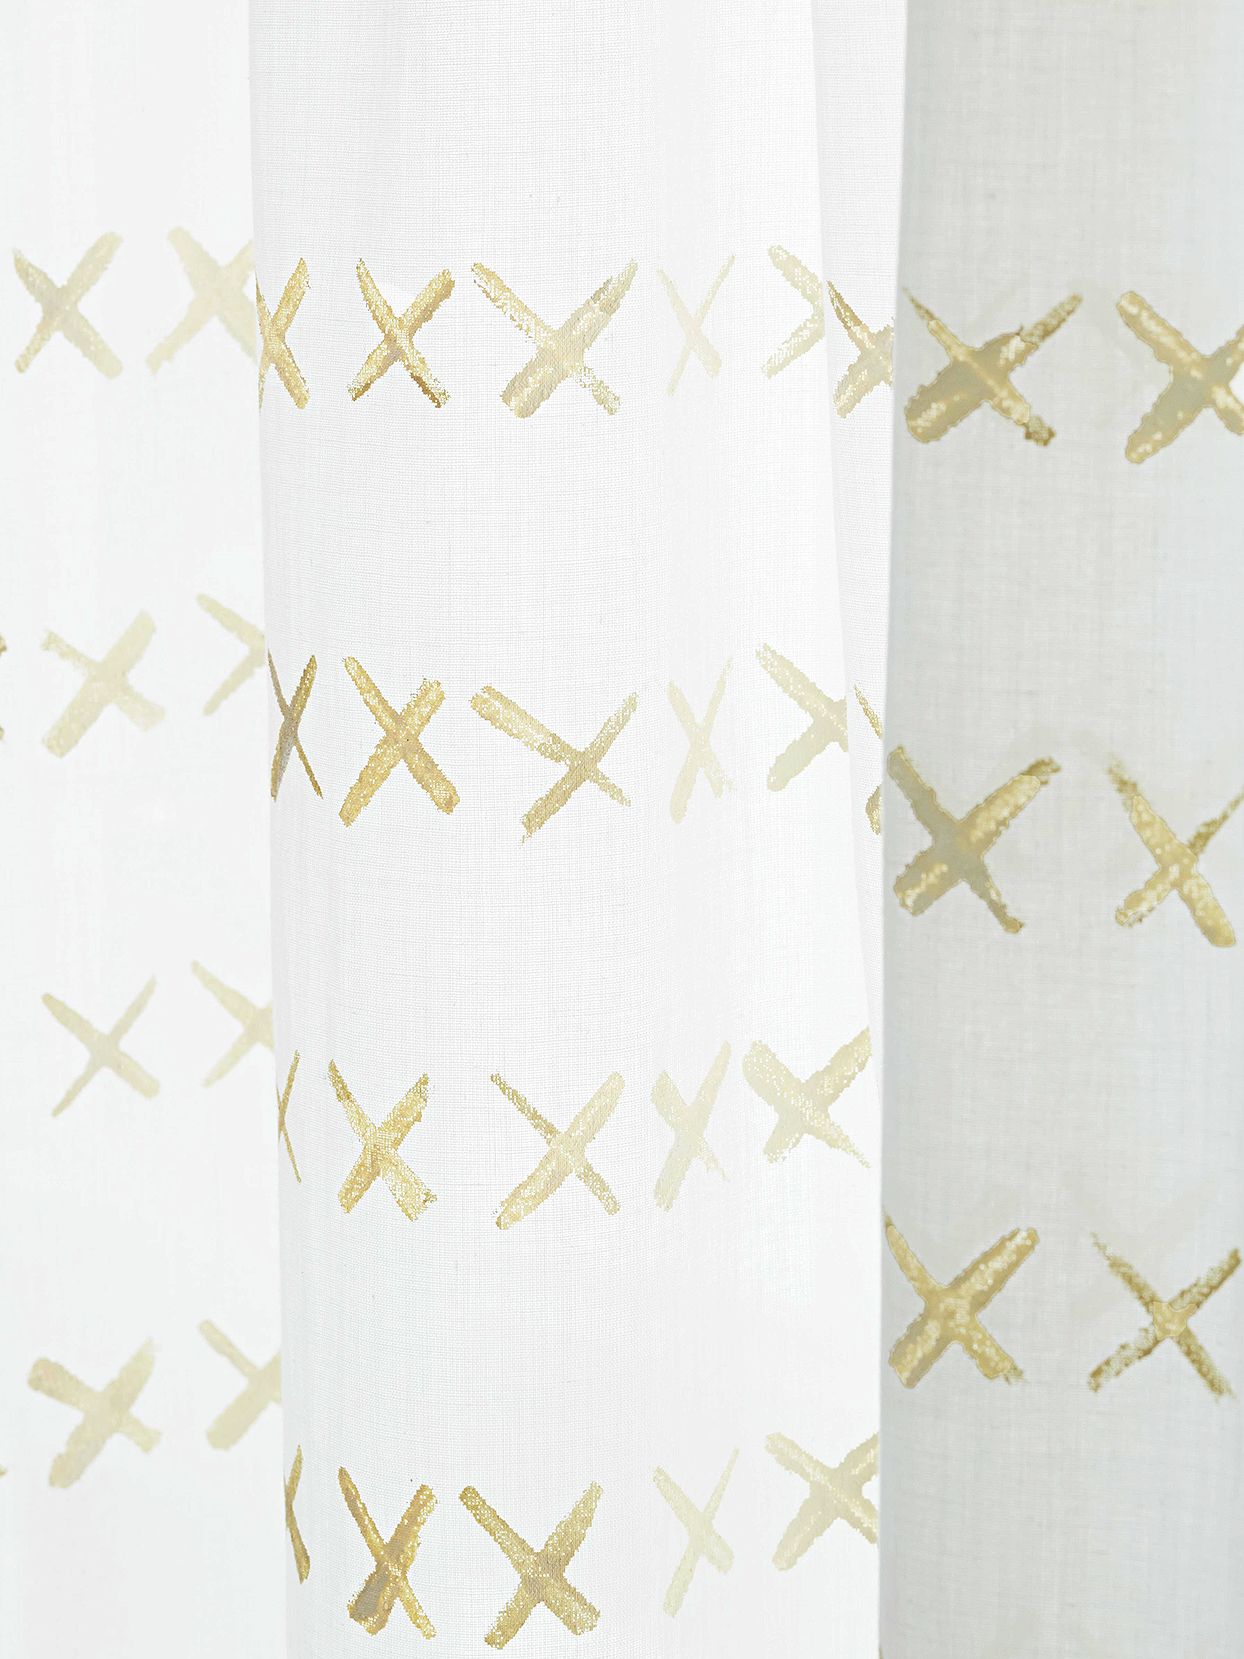
11. Update Curtain Panels
Tie a room together with leftover sample paint applied to plain curtain panels. Begin by ironing curtains and laying them on top of a work surface covered in kraft paper. Use a 1-inch foam brush to paint a row of irregular Xs, using the top brush edge as your stamp. We placed the first row of Xs at the top of the curtain panel, just below the rod pocket. We used a ruler to evenly space the rows 1 inch apart. Lift the curtain panel after completing a few rows so that the fabric and paper don't stick together while the paint dries. This paint treatment will hold up to a gentle wash with a mild detergent. Hang the panel to air-dry.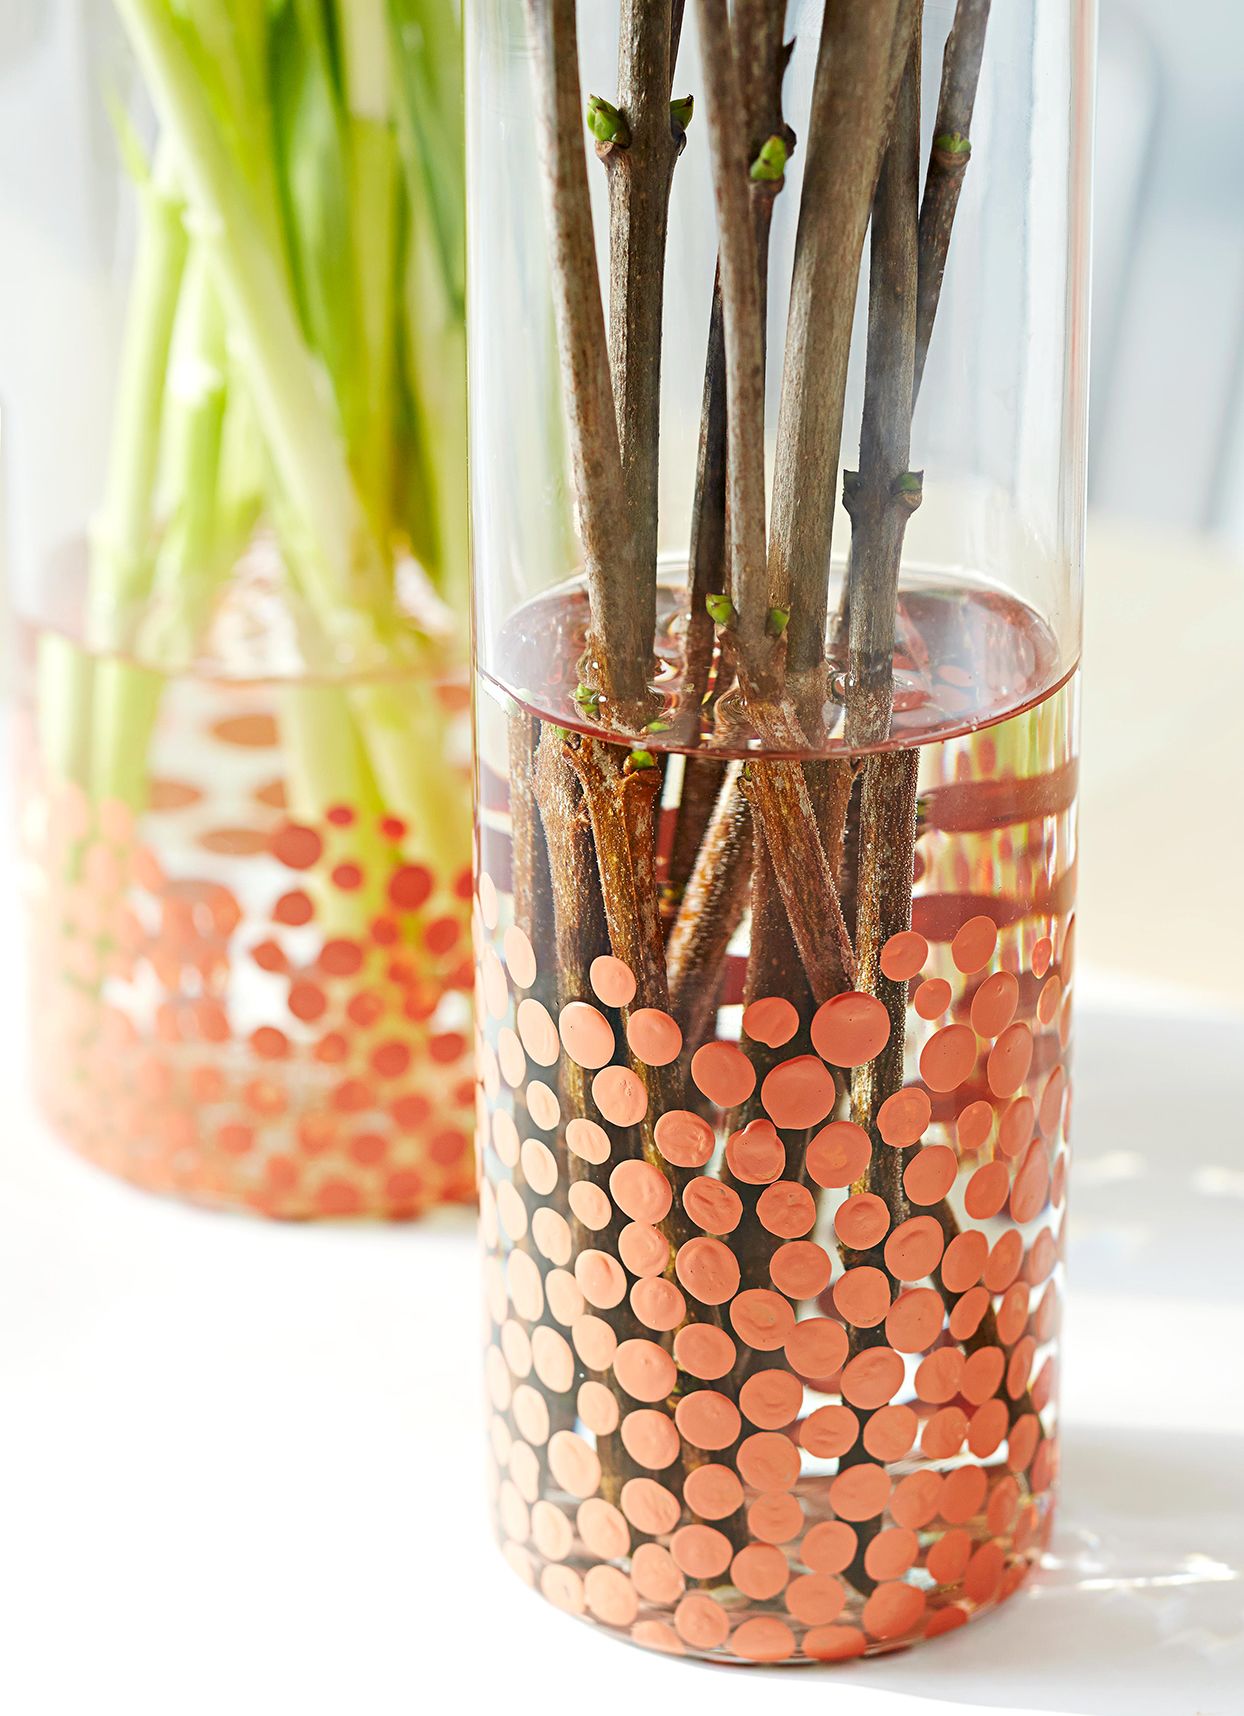
12. Embellish Glass Vases
Add subtle style to plain glassware, like these simple vases. Using the eraser on a new pencil, stamp polka-dots on the bottom and up the sides of the vase. Allow to dry and let cure for a few days before using. Because sample paint is not permanent on glass, you can scratch or wash off as your style needs change.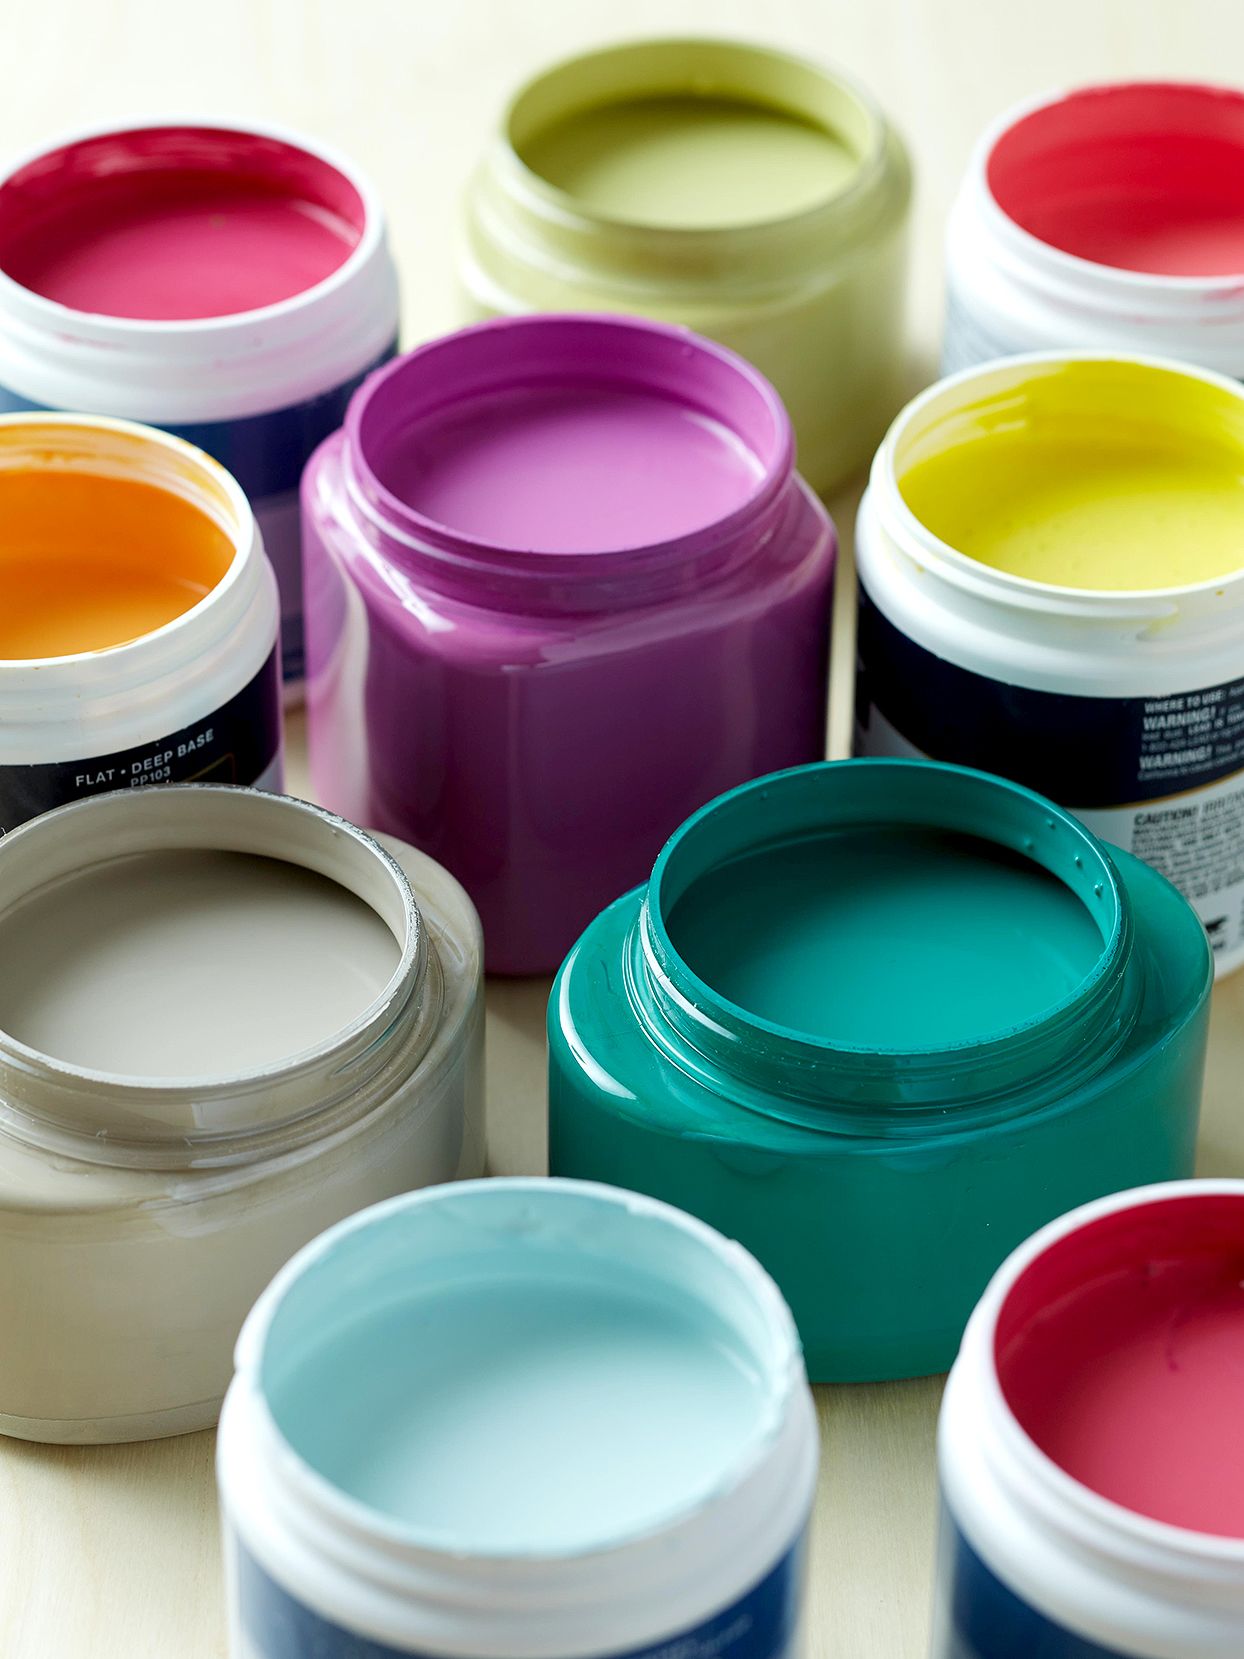
How to Buy Sample Paint Pots
Most paint manufacturers sell color samples. While these little pots can be mixed to match thousands of gorgeous hues, they typically lack the additives that make full-price paint scrubbable, fade-resistant, and lustrous. For best results, deploy sample paint on properly prepped or absorbent surfaces. Avoid sample paints on high-use, moist, or outdoor projects. Get started by asking your favorite paint sources about their sample programs.


